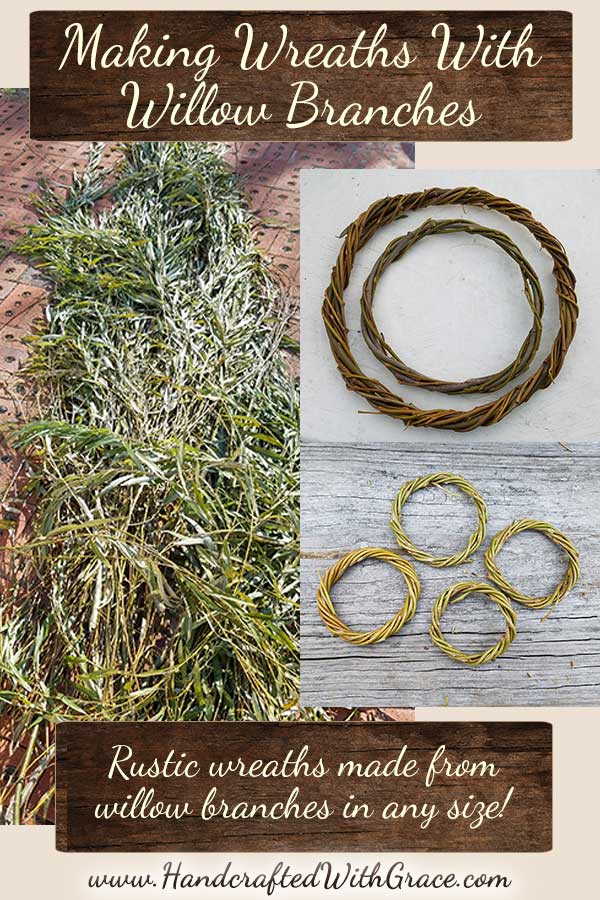
I am so excited because I just got a whole bunch of fresh willow branches! I have been looking for them for quite some time and low and behold I found them at a cousin’s yard! Making wreaths with willow branches is a great project to save some money rather than buying wreaths so I ended up making quite a few willow wreaths in several different sizes and a couple dream catcher rings while I was at it.
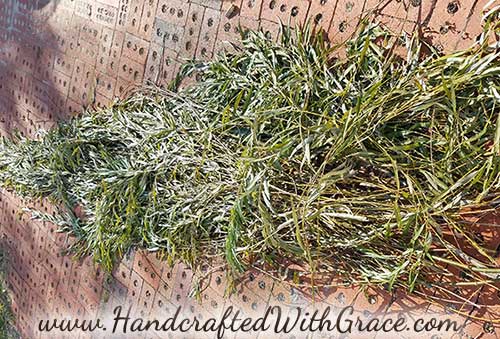
At first it was a little intimidating to look at all those branches! I thought I was going to be working on this project forever! But, I quickly found out that it takes quite a few branches to make a really good thick wreath. It also doesn’t take any time at all to wrap the wreaths once you get the hang of it. I ended up making several thinner wreaths instead of just a few really thick ones in just a couple of hours.
Prepping the Branches:
Of course the first job I had to tackle was stripping all the leaves off of the branches and cutting them apart. Using a good pair of gardening gloves and a set of clippers I went to town cutting and running my fingers down the branches from the tip to the clipped end to remove the leaves. Fortunately, the process didn’t take as long as I thought it would originally.
Soaking the Branches:
I had read quite a few articles on making items with willow branches, and some said to soak the branches, others said not to. I chose to soak them because I had read that it makes them more pliable. However, I think I may have soaked them too long at 24 hrs. They still worked great up until they started to dry out and then they got a little bit brittle but nothing that I couldn’t handle. You may want to soak them for only 12 to 16 hours or not at all.
Wrapping the Wreaths:
Wrapping the willow into a wreath was a fairly easy process. There are two different ways as you can see below depending on the size of your wreath.
First Method – Large Wreath
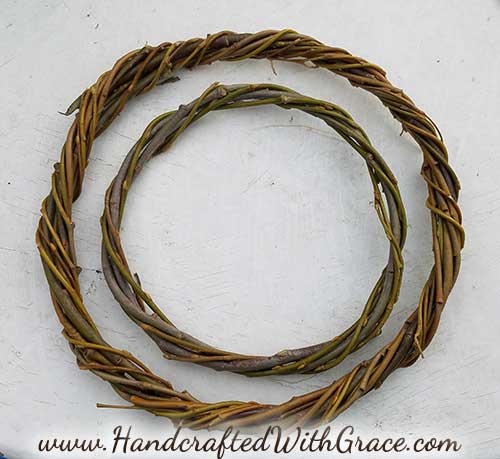
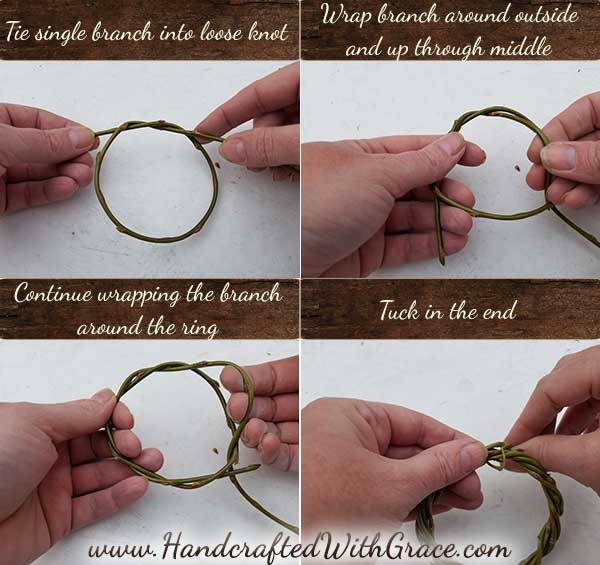
For a larger wreath (over 3 to 4 inches across) twist 2 branches together. Then wrap the twisted branches around themselves like tying a knot to form a ring. Continue to wrap the branches around the ring by working around the outside and up through the center. When a branch is at the end simply tuck in the ends to any space between wraps. The ends can be cut off later.
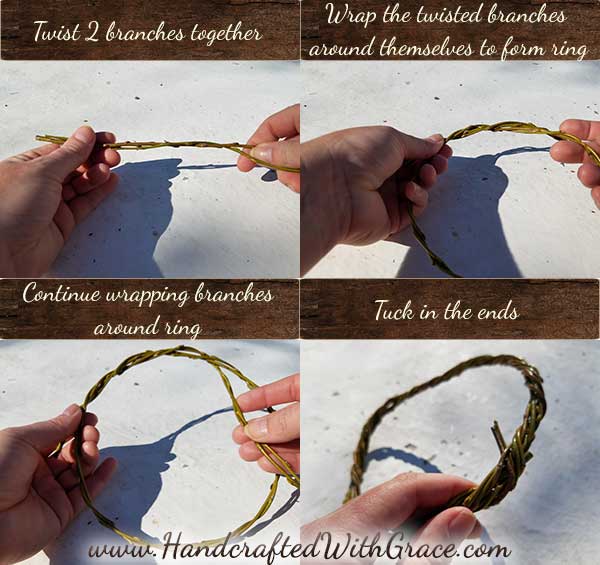
You can add as many single branches as you desire to get the thickness you want. Just tuck in the beginning of the branch and continue wrapping like you did before with the initial ring. These wreaths can become quite large and thick if you want them to.
Tip:
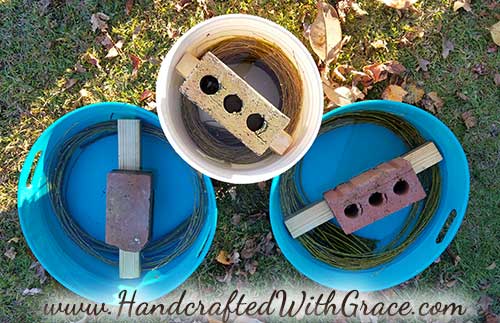
You can place the wreaths into a round container like a 5 gallon bucket or coffee can (depending on the size) while they are drying out so they will hold their shape better.
Second Method – Small Wreath:
For a small wreath (under 4 inches across) you don’t have to twist 2 branches together first. It is the same process of the larger wreaths but 1 branch will probably be enough to get a good thickness.
These small wreaths are perfect for Christmas ornaments!
As the wreaths dry out they will become lighter in color.
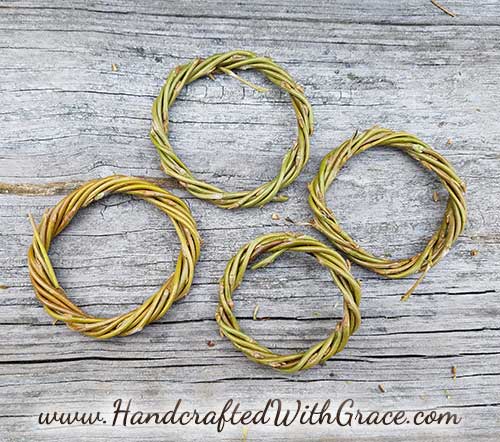
Your beautiful wreaths are complete. Just let them dry out a while first before you start to use them. They will stiffen and retain their shape.
I can’t wait to decorate them up. I have lots of ideas for these wreaths (including some dream catchers!) so stay tuned…
Make sure to comment below if you have any questions or want to share how you will use your beautiful wreaths. I look forward to seeing all of the different ideas you have come up with.
Please don’t forget to share this post with your friends and family by clicking the share buttons below for your favorite social media.

Great job they are nice and round. Can’t wait to see what you do with them..
Thank you. I know… I am so excited to make Christmas wreaths and ornaments and dream catchers and … and… and… hahaha